Building my own gym
My gym closed because of Covid-19, and every fitness supplier was backlogged for months. Thus, I decided to build my own gym. Here, I share some photos and my lessons learned.
Planning


A successful project needs a good project manager. So my first step is to design the blueprint, record all the measurements, make an exploded-view drawing, write a small spreadsheet application to optimize the wood, then buy all the materials and bring them home.
Squat stands


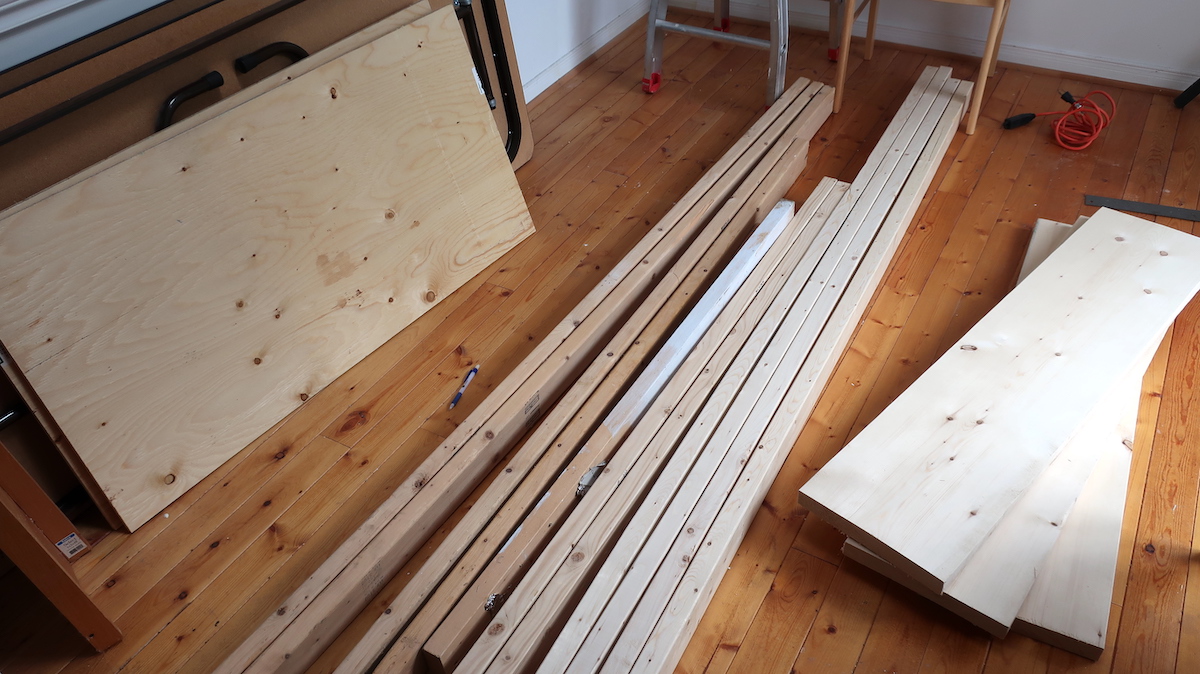
To stay organized and efficient, I collected everything in one place, then measured and marked all the cuts with stickies so I can do all the cutting in one go without needing to stop and re-measure.
Then, I could assemble the squat stands and double-check the fit before mixing and pouring some concrete and tieing them down for final assembly.
The stands are designed with two levels, so it can be used both as stands for the squat and as a rack for the bench press.
Lifting platform


To make the deadlift platform, I used a table saw to cut the plywood panels, took the top panels up for some sunshine and sealed them up with polyurethane, then finally screwed them down with rubber mats.
With “gym mats” out of stock, my coach told me to search for “horse stall mats” instead, which I succeeded in finding from a commercial supplier. Turns out that a horse stall mat is the same as a gym mat, different only in name.
Bench


The bench was very easy to assemble since I already cut all the 2×4’s and I just needed to follow the assembly diagram I drew earlier to screw everything together.
Weight Plates


I duct-taped together some molds made out of $1 plastic planter saucers to make my own weight plates. The interior is made of PVC pipe cut to length. Bonus, I could make “bumper plates” by salvaging the wheels (the spokes double as rebar!) from an old rusted mountain bike I had laying around and filling them up with concrete.
After watering the plates with the garden hose four times a day for three days, the plates cured and I could take them out of the mold and wrap them up with more duct tape to protect the concrete.
DIY is not as durable compared to metal and these will probably chip apart after a few months, but at least concrete is cheap and will hold me over until metal plates get back in stock.
Completed


And the gym is done! I made a squat stand, bench, lifting platform, and over 300lbs of concrete plates.
Luckily, I was able to order one of the few barbells remaining in stock, otherwise I would have had to figure out some way to make a barbell out of rebar.
This was my first ever woodworking project! I’m pleased with the result. If I had to do this again I would have done more research into what it takes to work with concrete—it required more work than anticipated, as I didn’t know you’re supposed to water the concrete every few hours. Had I known this in advance, I would have project managed it to do all the concrete at once (and at first instead of at the end) for better parallelism.
I think my cooking skills transferred well here. For example, the concept of mise en place greatly sped up each step of assembly.
I wasted years trying 21 different diet and exercise programs, including P90X, cross-country running, bodybuilding, HIIT, swimming, BodBot, 2 types of yoga, CrossFit, rowing, personal training, F45, and cycling. None of them worked. Except for one. Read about it here: billmei.net/blog/fitness
Addendum: A-frame


As a bonus, I also built an A-frame for working out in the backyard and hammock times. It gives me somewhere to hang my rings and practice muscle-ups!
That’s it for now!
I only publish half of my writing publicly. You can read the rest of my essays on my private email list:
Subscribing is free, no spam ever, and you can safely unsubscribe anytime
